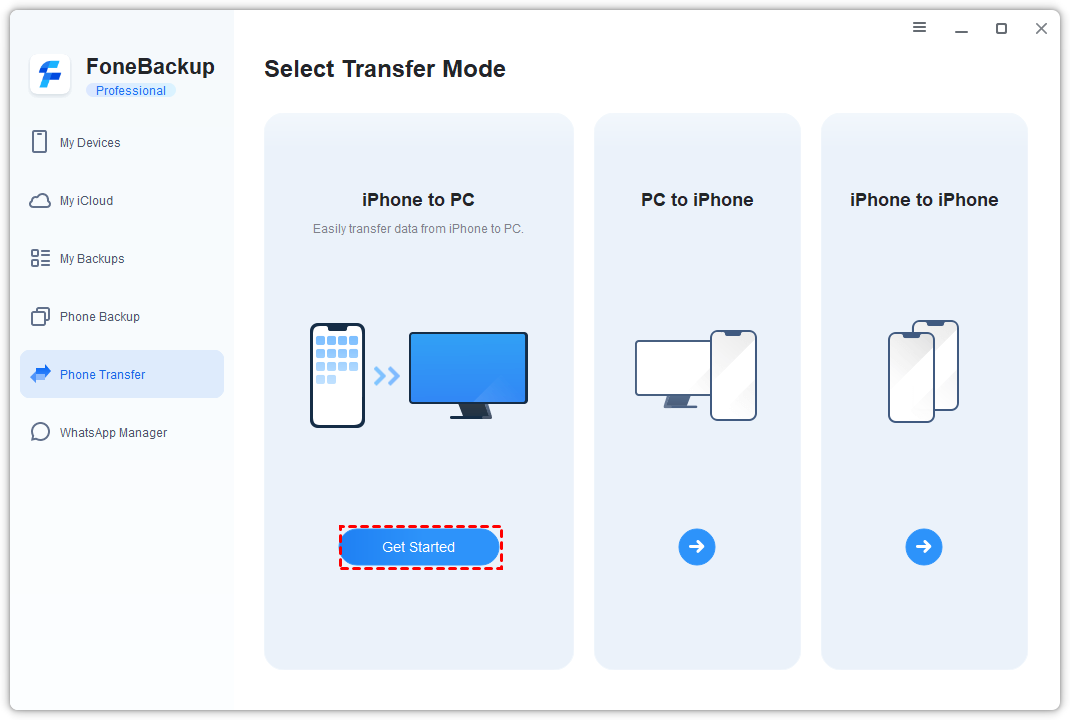
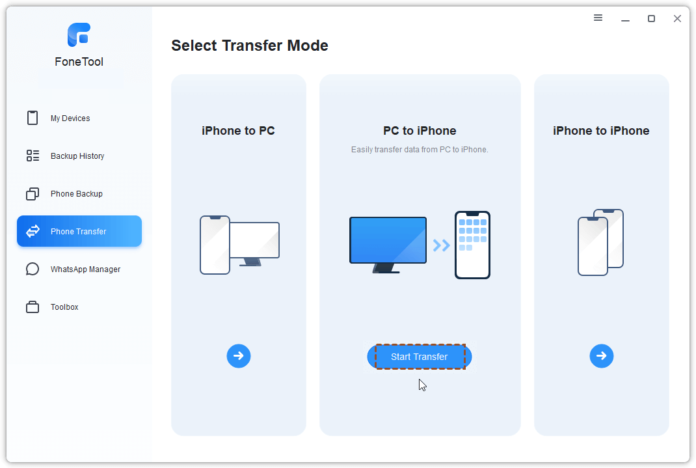
To transfer photos from an iPhone to an external hard drive, connect the drive to a computer and use the Photos app for import. Then, move the images from the computer to the external drive.
In the digital age, managing and protecting our memories has never been more critical. With iPhones often at the center of our digital lives, they accumulate a treasure trove of photos that capture our most cherished moments. Ensuring that these photos are safely backed up is a priority for many users, and external hard drives offer a robust and reliable storage solution.
Learning how to transfer your precious memories from your iPhone to an external hard drive not only frees up space on your device but also secures your photos against loss due to device failure or other unforeseen events. This task might seem daunting at first, but with the right guidance, even the least tech-savvy users can quickly master the process.

Credit: www.ubackup.com
Introducing Iphone Photo Transfers
Transferring photos from your iPhone to an external hard drive is a simple process. This task can free up space on your device. It can also keep your precious memories safe. Let’s explore the steps for making this transfer smooth and secure.
Why Transfer Photos To An External Hard Drive?
Saving photos on an external hard drive has multiple advantages:
- It creates more space on your iPhone.
- Protects your photos in case your phone gets lost or damaged.
- It makes sharing memories with others easy and fast.
Potential Benefits Of External Storage
Using an external hard drive comes with great benefits:
| Benefit | Description |
|---|---|
| Capacity | Store thousands of photos without worrying about space. |
| Security | Keep a physical backup that is not prone to cyber threats. |
| Portability | Carry your entire photo library with you anywhere. |
| Organization | Arrange your photos in folders by dates or events on your drive. |
Pre-transfer Checklist
Before transferring photos from your iPhone, a few steps ensure a smooth, seamless process. Prepare properly to protect your valuable memories.
Selecting The Right External Hard Drive
Finding the perfect hard drive is key. Consider storage size, compatibility with your computer, and portability. Choose a drive with enough space to back up your iPhone photos and more.
- Storage Capacity: Get a drive that can hold all your photos, plus extra for future memories.
- Transfer Speed: Opt for a fast transfer rate to save time.
- Durability: A sturdy drive protects against drops and damage.
Understanding Iphone Storage And Formats
Your iPhone stores photos in specific formats. Know these formats to ensure compatibility with your external drive.
| iPhone Photo Format | Description |
|---|---|
| HEIF/HEVC | High Efficiency, may need conversion for compatibility. |
| JPEG | Universal format, widely compatible. |
Check if your iPhone uses iCloud Photo Library. Photos not fully downloaded might not transfer.
Method 1: Using A Computer
Want to save your iPhone photos to an external hard drive? No problem! Method 1 uses a computer as a bridge. Follow these simple steps, and your memories will be safe in no time. Remember to check you have a compatible cable for your iPhone and the hard drive before you start.
Connecting Iphone To Computer
First things first, you’ll need to connect your iPhone to the computer. Use the USB cable that came with your iPhone. If your computer has a USB-C port, you may need an adapter. Here’s how to do it:
- Unlock your iPhone.
- Use the cable to plug it into the computer’s USB port.
- If asked, tap ‘Trust This Computer’ on your iPhone.
Transferring Photos Via Itunes Or Finder
With your iPhone connected, it’s time to start the transfer.
For Windows: Open iTunes, select your device, and choose ‘Photos’. Check ‘Sync Photos’ and select the folder with the photos you want to transfer.
For Mac (macOS Catalina and later): Open Finder, select your iPhone, and click on the ‘Photos’ tab. Choose to sync all photos or only selected albums.
Click ‘Sync’ or ‘Apply’ at the bottom to start copying your photos.
Copying Photos To External Hard Drive
Next, get that external hard drive connected to your computer. Use another USB port or unplug your iPhone if needed. Here’s the final stretch:
- Open the folder where the photos are now saved.
- Select the photos or folders you want to copy.
- Right-click and choose ‘Copy’ or simply press
Ctrl+C(Windows) orCmd+C(Mac). - Open your external hard drive from ‘My Computer’ on Windows or the ‘Finder’ on Mac.
- Navigate to where you want to store the photos.
- Right-click and choose ‘Paste’ or press
Ctrl+V(Windows) orCmd+V(Mac).
Wait for the files to copy, and once it’s done, your photos are transferred!
Method 2: Without A Computer
Got an iPhone full of photos and no computer in sight? No problem! The second method to transfer photos doesn’t need a computer. Let’s delve into how to move pictures directly to an external hard drive.
Direct Transfer Accessories
Gathering the right tools is the first step. There are accessories designed to make this process a breeze. Common ones include:
- Lightning to USB Camera Adapter: It connects your iPhone to the hard drive.
- External hard drive with USB connectivity: This is where photos will be stored.
Step-by-step Guide For Direct Transfers
Now, let’s get to the heart of the matter. Follow these simple steps:
- Connect the Lightning to USB Adapter to your iPhone.
- Plug the USB cable from the hard drive into the adapter.
- Unlock your iPhone. Tap ‘Trust’ when prompted to trust the connected device.
- Open the Photos app and select the photos you want to transfer.
- Tap ‘Share’, then ‘Save to Files’.
- Choose your external hard drive as the save location.
- Hit ‘Copy’ and wait for the transfer to finish.
All your desired photos now sit securely on the external hard drive, ready for viewing anytime. This method keeps a backup of your memories safe and sound, without the need for a computer!
Troubleshooting Common Issues
Encountering issues while transferring photos from your iPhone to an external hard drive? It’s not always a seamless process. Many stumble upon challenges. Let’s troubleshoot these common issues together.
Addressing Connectivity Problems
Connectivity issues can interrupt the transfer process. Follow these steps to resolve them:
- Ensure the hard drive connects properly to the computer.
- Check the USB cable for any signs of damage.
- Restart both your iPhone and computer.
- Try a different USB port on your computer.
- Update your computer’s operating system.
- If using a hub, connect the hard drive directly to your computer.
Managing Format And Compatibility Challenges
Struggling with format and compatibility? These pointers will help:
| Issue | Solution |
|---|---|
| File format not supported | Reformat the external hard drive to a compatible file system. |
| Photos not showing | Check the photo format. Convert HEIC files to a more common format like JPG. |
| Transfer speed is slow | Close unnecessary applications. Ensure the hard drive has a fast data transfer rate. |
Maintaining Photo Organization
Organizing photos is like keeping your digital memories in a neat album. Moving photos from an iPhone to an external hard drive is a smart move. It frees up space on your iPhone. It also keeps those memories safe. But, toss them onto a drive without care, and you’ve got digital chaos. Let’s keep things tidy with easy steps for file management and the right tools for photo organization.
Creating An Efficient File System
To start, think of your external hard drive as a big filing cabinet. Each folder is a drawer. You want to find photos fast. So, make folders with clear names. Think event names, dates, or location. Make sub-folders to break it down more. It’s like separating vacation snaps from family portraits.
Examples of folder structures:
- Year > Event > Location
- Location > Month > Activity
Here’s a tip: Put dates in YYYY-MM-DD format. This keeps folders in chronological order. Neat, right?
Using Software To Simplify Organization
Software tools can be a big help. They can organize photos for you. They can even find duplicates and sort them out.
Some popular photo management tools:
| Software | Features |
|---|---|
| Adobe Lightroom | Editing and organizing |
| Google Photos | Cloud storage with sorting |
| Apple Photos | Integrated with iOS devices |
Choose the tool that fits your needs. Stick with it for consistent results. Tagging photos with keywords makes them even easier to find. Say bye to endless scrolling!
Ensuring Data Safety
Keeping photos safe is as important as capturing them. Photos hold precious memories. An iPhone carries those memories. But what if the iPhone gets lost or damaged? Transfer those memories to an external hard drive. Follow these steps. Ensure your moments stand the test of time.
The Importance Of Regular Backups
Regular backups protect against unexpected data loss. Make this practice a habit. Computers can fail. Phones can get stolen. Natural disasters can occur. A backup on an external hard drive acts as a safety net.
- Connect your iPhone to your computer.
- Use iTunes or Finder to back up your phone’s data.
- Copy that backup to your external hard drive.
Do this often. At least once a month. More often if you take lots of photos.
Protecting Your Photos: Tips And Tricks
- Lock it: Use password protection on your hard drive.
- Store it: Keep the hard drive in a safe place.
- Double it: Make two backups, just in case.
- Test it: Check the hard drive regularly for errors.
- Update it: Use the latest software for transferring photos.
Remember these tips. They help preserve your photos for years to come.

Credit: www.amazon.com

Credit: m.youtube.com
Frequently Asked Questions For How To Transfer Photos From Iphone To External Hard Drive
How Do I Copy My Entire Iphoto Library To An External Hard Drive?
To copy your iPhoto library to an external hard drive, first close iPhoto. Then, connect the drive, open your Pictures folder, and drag the iPhoto Library file to the external drive icon. Wait for the transfer to complete before disconnecting.
Can You Connect Iphone To External Hard Drive?
Yes, you can connect an iPhone to an external hard drive. Use the appropriate adapter to link your iPhone’s Lightning port to the drive and manage files via the Files app.
How Do I Move Ios Files To External Hard Drive?
Connect your iOS device and external hard drive to your computer. Open iTunes or Finder, select your device, and choose ‘File Sharing’. Drag and drop the desired files from the iOS apps to the hard drive.
How To Transfer Files From Phone To External Hard Drive Without Computer?
Connect your phone and external hard drive to an OTG (On-The-Go) cable. Then, use your phone’s file manager app to transfer files directly to the hard drive.
Conclusion
Transferring photos from your iPhone to an external hard drive can be a breeze. With the simple steps outlined above, you’ll safeguard memories and free up space. Remember, consistent backups keep your pictures safe. Ready to organize your digital treasures?
Start moving those precious moments today!


